Servings: 4
Calories: 295kcal
Equipment
- Glass
- Serving mug
- Cheese cloth
Ingredients
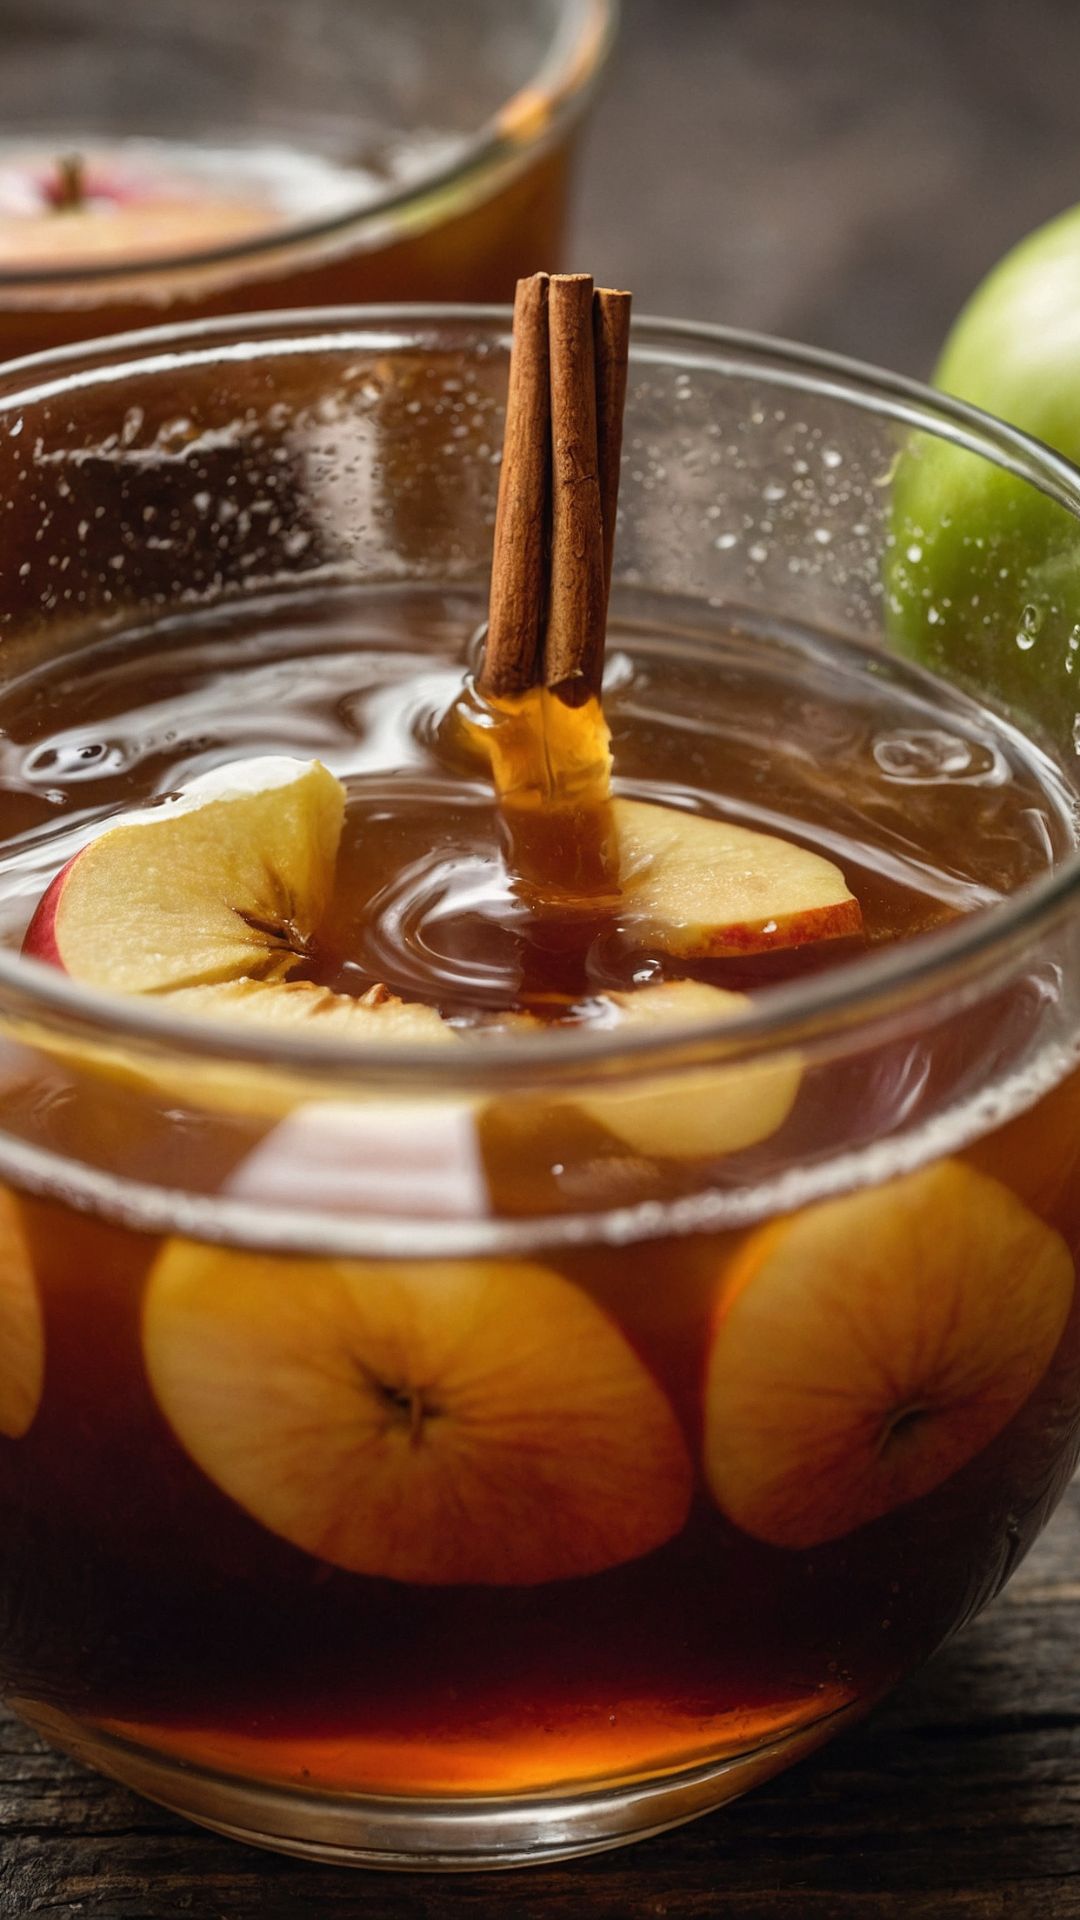
- 10 medium apples
- 1 tablespoon fresh lemon juice
- ½ cup packed golden brown sugar
- 2 teaspoons ground cinnamon
- ½ teaspoon ground nutmeg
- 1 tablespoon ground allspice
Instructions
Step 1: Gather Your Ingredients
- Start by gathering your fresh apples. I always recommend a mix—some tart varieties like Granny Smith and some sweet ones like Gala or Fuji. This blend creates a balanced flavor. Once gathered, wash them thoroughly to remove any pesticides or dirt.
Step 2: Prep the Apples
- Core and quarter the apples. This step can be a bit of a workout, especially if you have a lot of apples. But it’s worth it! Cut them down into quarters to allow for better extraction of juice and flavors. I love getting my hands involved, feeling the coolness of fresh apples—there’s something satisfying about it.
Step 3: Combine Ingredients in a Pot
- Place the cored apple quarters into a large stockpot. Add the lemon juice, brown sugar, cinnamon, nutmeg, and allspice. Pour in roughly 12 cups of water, ensuring your apples are well submerged. You can already start to imagine the aromas!
Step 4: Bring to a Boil
- Turn the heat to high and listen for the bubbling symphony of your mixture. Once it starts boiling, lower the heat and let it simmer. This part typically takes about two hours. You want everything to break down into mush.
Step 5: Mash the Apples
- After two hours of simmering, grab a potato masher or a wooden spoon. As you mash the apples, you’ll notice that they start to break down, releasing their juices. I usually enjoy this step, picturing myself as a cider-making wizard!
Step 6: Strain the Mixture
- Next, it’s time to strain. Use a fine-mesh strainer or cheesecloth over a bowl to separate the liquid from the pulp. Squeeze gently to extract as much juice as possible without making a mess. This step reveals that glorious amber cider we all love.
Step 7: Taste and Adjust
- Taste your cider. You might want it sweeter or spicier. Adjust by adding more sugar or spices as you see fit. Remember, this is your creation! I often play with ratios here to suit my preference.
Notes
- Apple Variety: A mix of sweet and tart apples gives depth to your cider.
- Cinnamon Sticks vs. Powder: If you prefer a lighter spice flavor, add sticks while simmering and remove them before mashing.
- Sweetener Alternatives: You can use honey or maple syrup for a different sweetening experience.
- Leave the Skins On: The skin contains many nutrients and adds extra flavor.
- Experiment with Spices: Don’t hesitate to try adding cloves or even a dash of ginger for a zing!
Nutrition
Serving: 474g | Calories: 295kcal | Carbohydrates: 78g | Protein: 1g | Fat: 0.2g | Sodium: 6mg | Fiber: 12g | Sugar: 60g
Tried this recipe?Let us know how it was!