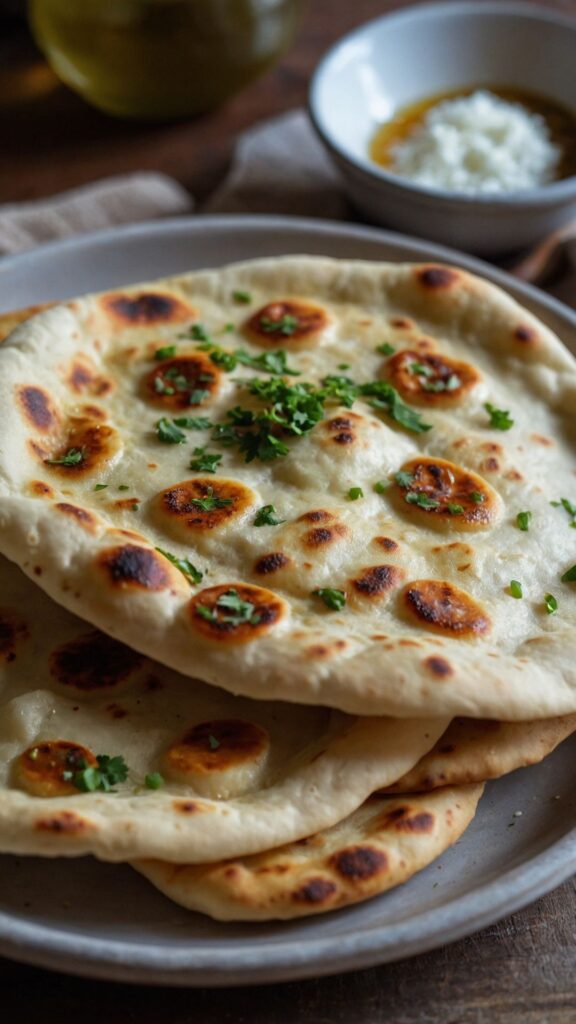
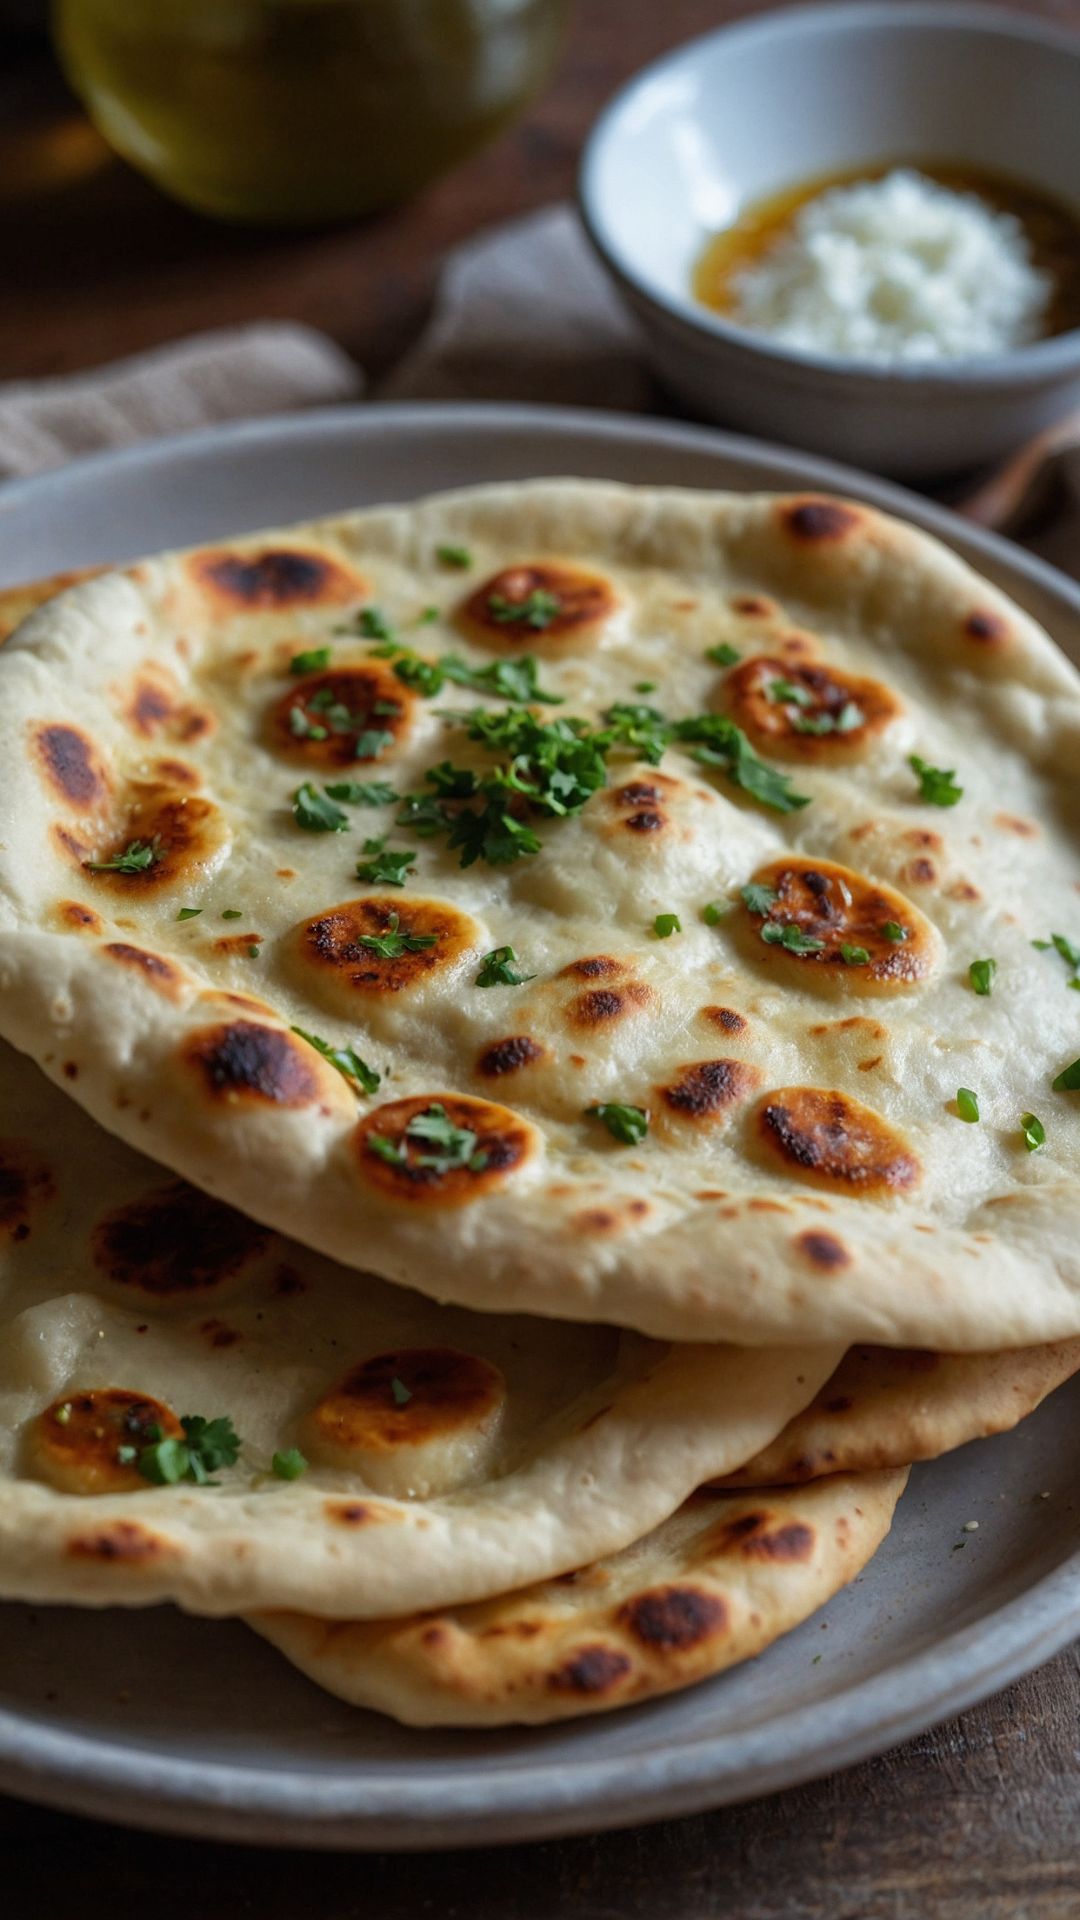
There are few things as satisfying as tearing off a piece of warm naan and scooping up flavorful curries. Trust me, it beats eating straight out of the takeout container. Traditionally, naan is enjoyed with rich dishes like chicken tikka masala, palak paneer, or even a simple lentil soup. The soft and chewy texture pairs perfectly with vibrant sauces.
Let’s dive deep as I share my homemade naan recipe, seasoned with anecdotes, insights, and a sprinkle of humor. Together, we’ll transform simple ingredients into something extraordinary.

The Joy of Homemade Naan
I remember the first time I made naan at home. Since I had always relied on restaurants for my fix, making it felt like opening a treasure chest of potential. I gathered my ingredients, rolled my sleeves up, and set to work. The outcome was mind-blowing! Soft, pillowy naan emerged from the skillet; it felt like magic. Cooking can indeed be an adventure, and homemade naan is a fun start, especially when you’re sharing it with friends or family.
What is a Homemade Naan Recipe?
Naan is a type of leavened flatbread that hails from South Asia. It’s typically cooked in a tandoor, but a skillet will work just as well. My version is easy, manageable, and uses straightforward ingredients you likely already have at home. This bread can accompany many dishes, adding a lovely touch of warmth and flavor.
You will also like the following Bread recipes!
What is the Flavor Profile of Naan?
You’ll find naan to be slightly sweet with a hint of smokiness when cooked well. It has a chewy texture on the inside and a crispy outer layer if you achieve that perfect balance. The flavor can be enhanced by adding garlic, herbs, or even cheese, but the basic version stands strong on its own.
What Makes This Recipe Different From Others?
My homemade naan stands apart because of its simplicity and the mix of techniques I’ve gleaned over years of baking. I tested various methods, but my favorite involves a combination of white flour and yogurt. This unique pairing provides richness and tenderness, resulting in naan that elevates any meal. Plus, you won’t need a tandoor oven—just your good old skillet.
Ingredients You’ll Need
Gather these essential ingredients. Each plays a role in creating delicious naan:
- 4 cups all-purpose flour
- 1 teaspoon salt
- 1 teaspoon sugar
- 1 teaspoon baking powder
- 1 cup plain yogurt
- 1 cup warm water (approx. 110°F)
- 2 tablespoons melted butter or ghee
- Optional toppings: minced garlic, chopped cilantro, or nigella seeds

Step by Step Directions
Step 1: Mixing the Dry Ingredients
In a large mixing bowl, combine the flour, salt, sugar, and baking powder. This mixture is your foundation. Stir until evenly mixed. It’s quiet at this stage, but just wait for the magic to begin!
Step 2: Adding Wet Ingredients
Make a well in the center of your dry mixture. Pour in the yogurt and warm water. Finally, add melted butter. Your dough is about to come alive! Use a fork or your hands to blend everything until it starts to form a shaggy dough.
Step 3: Kneading the Dough
Transfer the dough onto a lightly floured surface. Knead it for about 10 minutes until it turns smooth and elastic. If it sticks to your hands, add a sprinkle of flour. Pay attention to how it changes texture. This is the interactive part of your cooking adventure!
Step 4: Letting It Rest
Place the kneaded dough in a lightly greased bowl. Cover it with a damp cloth or plastic wrap. Let it rest for at least one hour. This step allows the yeast to work its magic, creating soft and airy naan.
Step 5: Portioning the Dough
Once the dough has risen, punch it down gently to release air. Divide it into 8 equal pieces. Shape each piece into a ball. Let them rest for another 10-15 minutes while you heat up the skillet.
Step 6: Rolling Out the Naan
On a floured surface, take each dough ball and roll it out into an oval shape, about ¼ inch thick. Make it as fancy or rustic as you like. Don’t sweat about perfection—this is homemade, after all!
Step 7: Cooking the Naan
Heat a skillet over medium-high heat until hot. Place one rolled naan onto the skillet. Cook for about 1-2 minutes or until bubbles start to form on top. Flip it over and cook the other side for 1-2 minutes until it gets those lovely golden brown spots.
Step 8: Finishing Touches
Once cooked, remove it from the skillet and smear a little melted butter or ghee on top. For added flair, sprinkle some minced garlic or chopped cilantro. Repeat this process for the remaining dough.
Tips on Making Homemade Naan
Keep it Warm: Place cooked naan in a towel-lined basket to keep them warm and soft until serving.
Experiment with Flavors: Infuse different herbs or spices into the dough before cooking for a unique flavor profile.
Don’t Skip the Resting Time: Allowing the dough to rest is crucial for soft naan. Patience is key here.
Use a Heavy Pan: A cast-iron skillet works best— it retains heat and gives you those perfect charred spots.
Adjust Flour as Needed: Depending on humidity levels, you may need a little more or less flour to achieve the right dough consistency.
Nutrition Information
Here’s a rough breakdown for one piece of naan (based on this recipe yielding eight pieces):
Naan serves as a complement to your meal while being relatively moderate in calories.
How Can I Store This Homemade Naan Recipe?
To store leftover naan, let it cool completely before placing it in an airtight container. It can stay fresh at room temperature for a day or two. For extended storage, wrap it tightly in plastic wrap and pop it in the freezer. It can last up to a month. When you’re ready to enjoy it, thaw and warm up in a skillet for that fresh taste again.

Substitute Options for the Ingredients
If you’re missing some key ingredients or need to make swaps, consider these options:
Plain Yogurt: Greek yogurt can be used instead. It adds a creamier texture. You can also use plant-based yogurt for a dairy-free version.
All-purpose Flour: Whole wheat flour can work, giving you a heartier naan. Just remember, whole-grain may yield a denser texture.
Sugar: If you don’t have sugar, honey or maple syrup can work in a pinch. Use about half the amount of liquid sweetener.
Butter or Ghee: Olive oil or coconut oil can be a healthier substitute, although they might subtly change the flavor.

Equipment
- cast-iron skillet
- Sauce Pan
Ingredients
- 4 cups all-purpose flour
- 1 teaspoon salt
- 1 teaspoon sugar
- 1 teaspoon baking powder
- 1 cup plain yogurt
- 1 cup warm water approx. 110°F
- 2 tablespoons melted butter or ghee
- Optional toppings: minced garlic chopped cilantro, or nigella seeds
Instructions
Step 1: Mixing the Dry Ingredients
- In a large mixing bowl, combine the flour, salt, sugar, and baking powder. This mixture is your foundation. Stir until evenly mixed. It’s quiet at this stage, but just wait for the magic to begin!
Step 2: Adding Wet Ingredients
- Make a well in the center of your dry mixture. Pour in the yogurt and warm water. Finally, add melted butter. Your dough is about to come alive! Use a fork or your hands to blend everything until it starts to form a shaggy dough.
Step 3: Kneading the Dough
- Transfer the dough onto a lightly floured surface. Knead it for about 10 minutes until it turns smooth and elastic. If it sticks to your hands, add a sprinkle of flour. Pay attention to how it changes texture. This is the interactive part of your cooking adventure!
Step 4: Letting It Rest
- Place the kneaded dough in a lightly greased bowl. Cover it with a damp cloth or plastic wrap. Let it rest for at least one hour. This step allows the yeast to work its magic, creating soft and airy naan.
Step 5: Portioning the Dough
- Once the dough has risen, punch it down gently to release air. Divide it into 8 equal pieces. Shape each piece into a ball. Let them rest for another 10-15 minutes while you heat up the skillet.
Step 6: Rolling Out the Naan
- On a floured surface, take each dough ball and roll it out into an oval shape, about ¼ inch thick. Make it as fancy or rustic as you like. Don’t sweat about perfection—this is homemade, after all!
Step 7: Cooking the Naan
- Heat a skillet over medium-high heat until hot. Place one rolled naan onto the skillet. Cook for about 1-2 minutes or until bubbles start to form on top. Flip it over and cook the other side for 1-2 minutes until it gets those lovely golden brown spots.
Step 8: Finishing Touches
- Once cooked, remove it from the skillet and smear a little melted butter or ghee on top. For added flair, sprinkle some minced garlic or chopped cilantro. Repeat this process for the remaining dough.
Notes
- Keep it Warm: Place cooked naan in a towel-lined basket to keep them warm and soft until serving.
- Experiment with Flavors: Infuse different herbs or spices into the dough before cooking for a unique flavor profile.
- Don’t Skip the Resting Time: Allowing the dough to rest is crucial for soft naan. Patience is key here.
- Use a Heavy Pan: A cast-iron skillet works best— it retains heat and gives you those perfect charred spots.
- Adjust Flour as Needed: Depending on humidity levels, you may need a little more or less flour to achieve the right dough consistency.
Nutrition
Frequently Asked Questions
Can I make naan without yogurt?
Absolutely! While yogurt enhances tenderness and flavor, you can use buttermilk or even a mixture of water and vinegar as a substitute. The acidity helps in creating a similar texture.
Can I cook naan on the grill?
Yes! Preheat your grill to high and cook the naan on the grates for excellent char and flavor. Use direct heat for a few minutes on each side.
Is there a gluten-free option?
Certainly! Use a gluten-free all-purpose flour blend in place of regular flour. Be mindful that you may need to adjust liquid ratios based on the specific flour you use.
How can I make naan more flavorful?
Incorporate spices into your dough, such as cumin, coriander, or garlic powder. You could also top the naan with fresh herbs right before cooking.
What dipping sauces should I serve with naan?
Pair naan with cucumber raita, mango chutney, or even thick hummus. These dips balance the flavors beautifully, transforming your meal into a delightful experience.
Conclusion
Homemade naan isn’t just a recipe; it’s an experience. Whether you’re enjoying it straight out of the skillet or showcasing it at your next gathering, it brings warmth and flavor to the table. The simplicity of the ingredients contrasts the richness of the final product. So, roll up your sleeves and get your hands doughy—it’s about to become your go-to recipe.
Bring this naan to life, and watch how it transforms mealtime into something special. Enjoy breaking bread (or naan) with those you love. Happy cooking!
