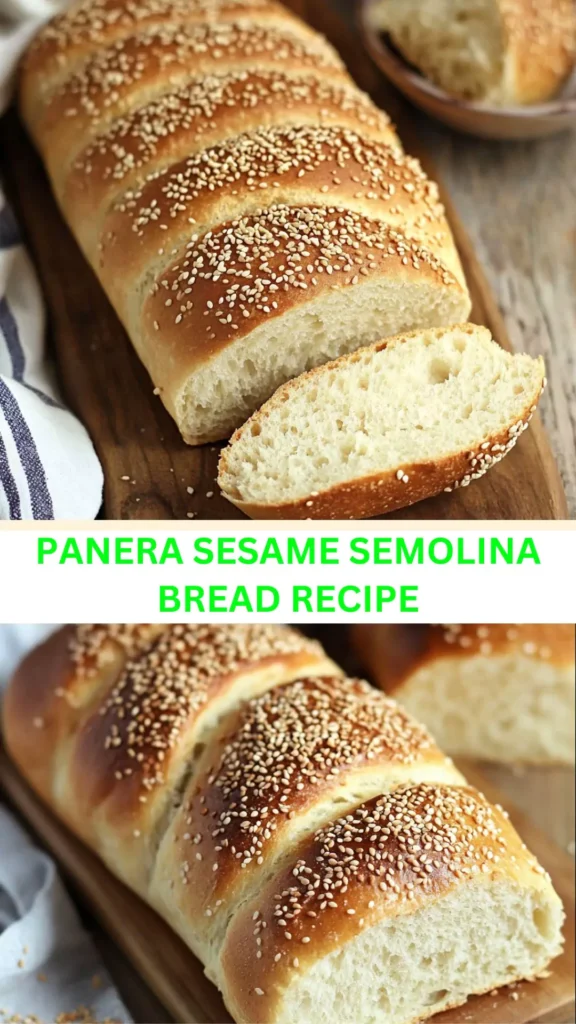
Before diving in, let’s take a moment to explore what you can enjoy with the delightful Panera sesame semolina bread.
Think of a fresh, crusty slice paired with creamy butter melting into it. It’s a simple, comforting way to begin any meal. Alternatively, consider slathering on some hummus, bringing a nutty creaminess that perfectly complements the sesame seeds.
If you’re in the mood for something heartier, a slice topped with ripe avocado, a sprinkle of sea salt, and a dash of chili flakes can transform your bread into a filling snack or light meal. And don’t forget about sandwiches!
This bread serves as the perfect foundation for a turkey club or a classic BLT, adding an unexpected twist with its unique flavor. With these pairings, your Panera sesame semolina bread experience will surely be unforgettable.

Baking bread isn’t just a hobby; it’s an adventure. The smell wafting through your kitchen, the mix of anticipation and excitement while watching dough rise, and ultimately, the joy of slicing into a crusty loaf are all part of the magic.
One such loaf that has captured hearts and taste buds alike is Panera’s sesame semolina bread. Let me take you on a journey through this bread’s delightful creation process, the flavors it brings to the table, and how to make it perfectly in your own kitchen.
You will also like the following Breakfast recipes!
- Best Panera Avocado Toast Recipe
- How to make Soft fluffy french bread
- Easy Pillsbury bread flour recipe
Why This Recipe Works
It’s essential to understand why this recipe for sesame semolina bread is a game-changer. Here’s why:
1. Unique Flavor Profile
The combination of semolina and all-purpose flour creates a distinct texture and taste. Semolina flour is made from durum wheat and imparts a slightly nutty flavor, while the toasted sesame seeds enhance it with a fragrant touch.
Together, they create a depth of flavor that sets this bread apart.
2. Ease of Preparation
This bread requires minimal ingredients and steps. Even if you’re a baking novice, the straightforward instructions will guide you through the process. The simplicity means that you can whip up a fresh loaf without spending an entire day in the kitchen.
3. Versatility
This bread is incredibly versatile; it can be enjoyed with breakfast, lunch, or dinner. Use it for toast, sandwiches, or served alongside soups and salads. Its adaptability means it fits seamlessly into any meal plan.
4. Nutritional Benefits
With its wholesome ingredients like semolina flour and sesame seeds, this bread is not only delicious but also nutritious. The bread offers a good source of fiber and protein, contributing to a balanced diet without sacrificing flavor.
How Does It Taste Like?
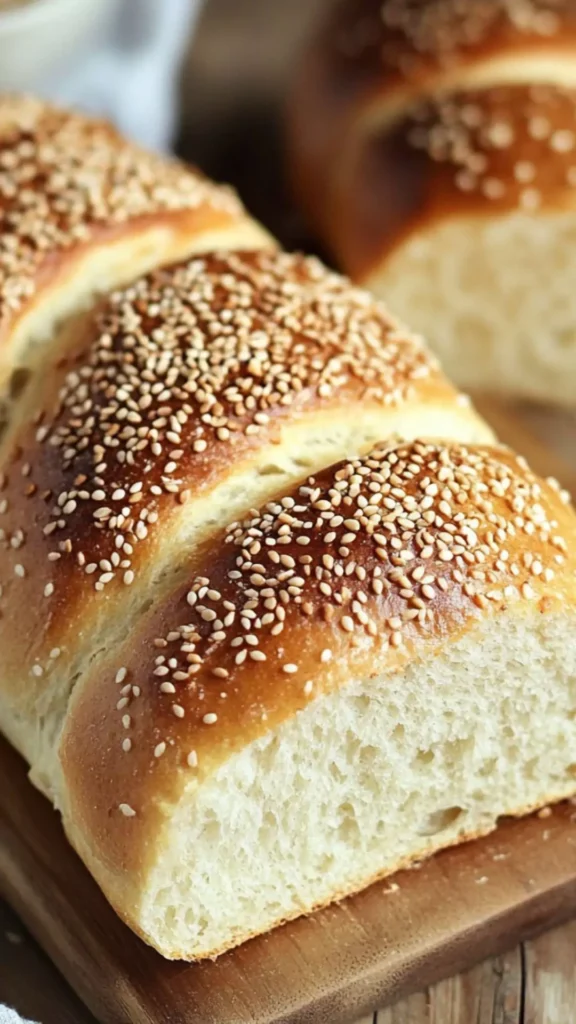
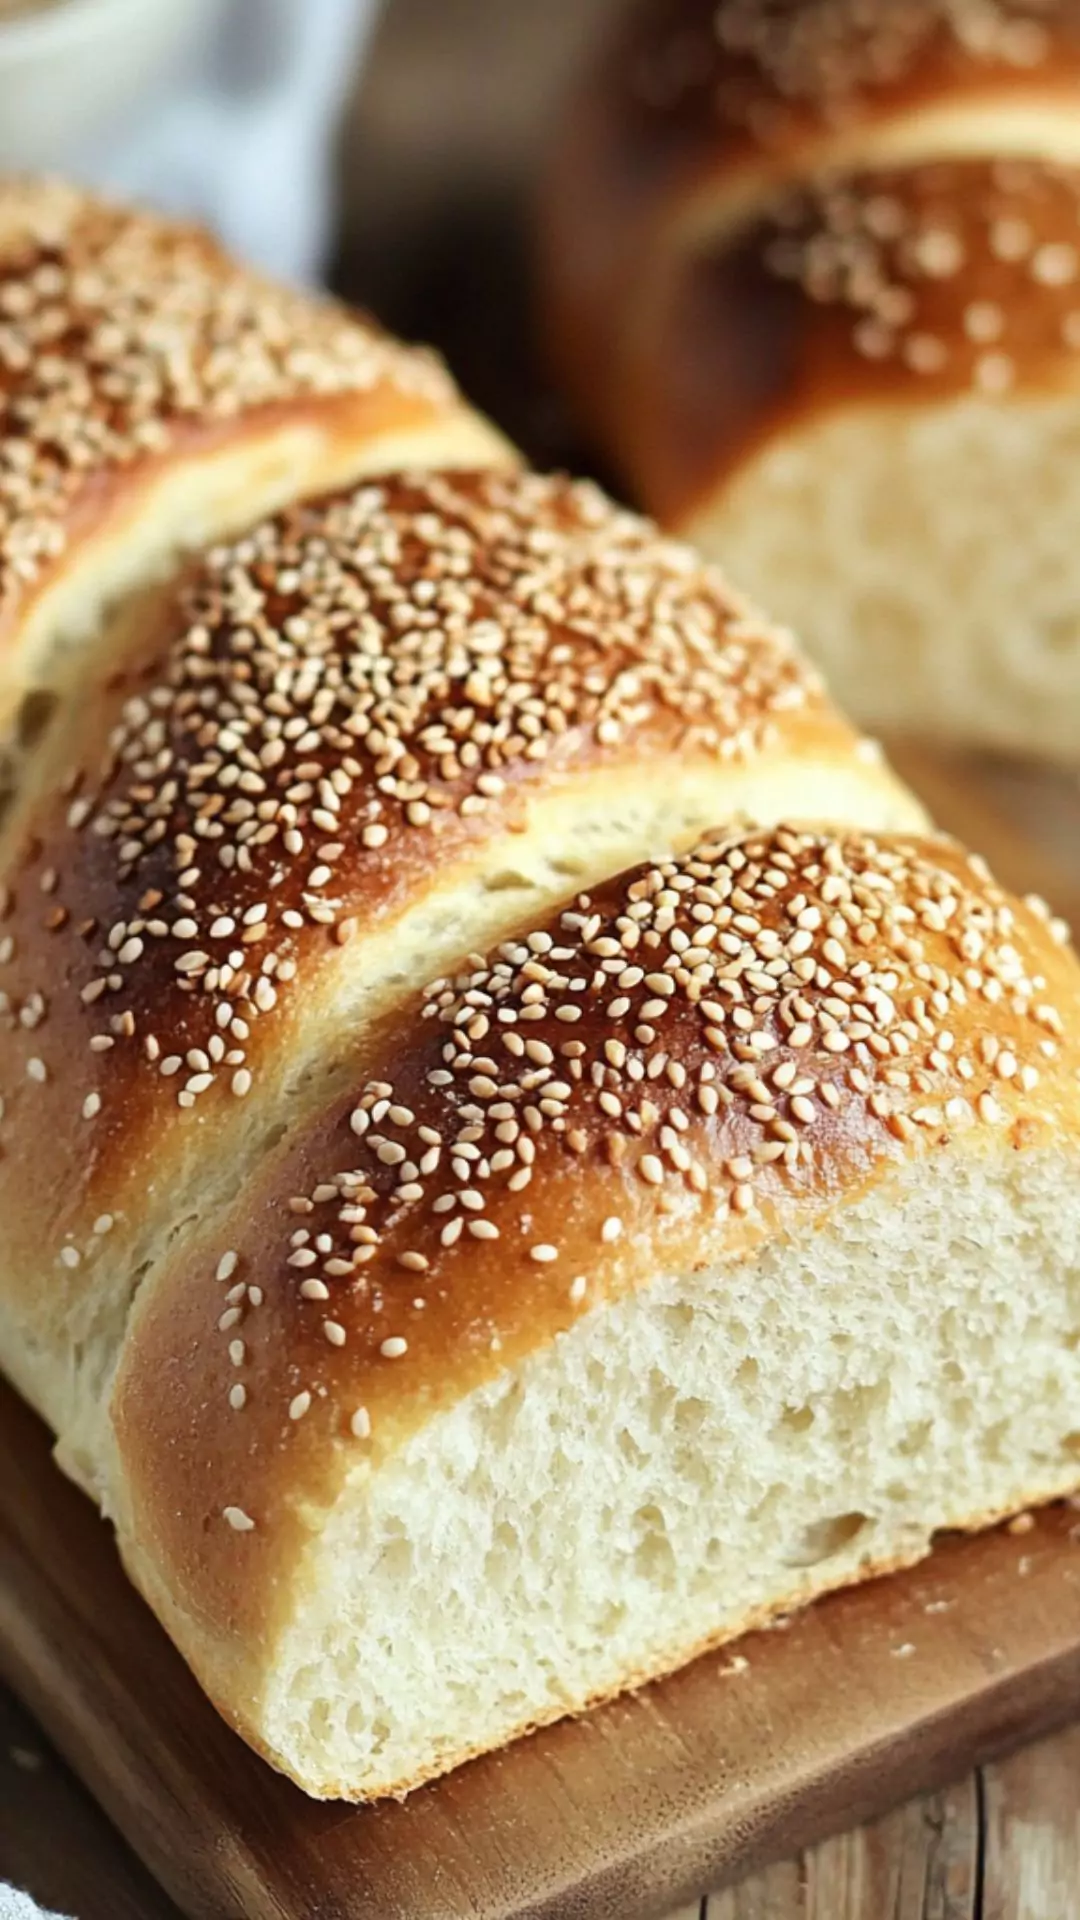
Imagine biting into a warm slice of sesame semolina bread. The crust is golden-brown and crisp while the interior is fluffy and airy. There’s a slight chewiness that keeps you coming back for more.
Then, you catch the gentle crunch of the toasted sesame seeds, adding a delightful nuttiness. The combination of flavors—a subtle sweetness from the honey and a hint of garlic—creates a harmony that dances on your palate.
Trust me, once you’ve tasted this bread, it’ll be hard to resist making it repeatedly.
What Sets This Recipe Apart from Other Panera Sesame Semolina Bread Variations?
Many variations of bread exist, but this recipe stands out. Some recipes often lean on additives and preservatives that compromise flavor and texture. This particular version focuses solely on fresh ingredients, allowing the natural flavors to shine.
Using both semolina and all-purpose flour creates a balance that’s hard to replicate. The mixture ensures a tender bite that complements rather than overwhelms the taste buds.
The Ingredients
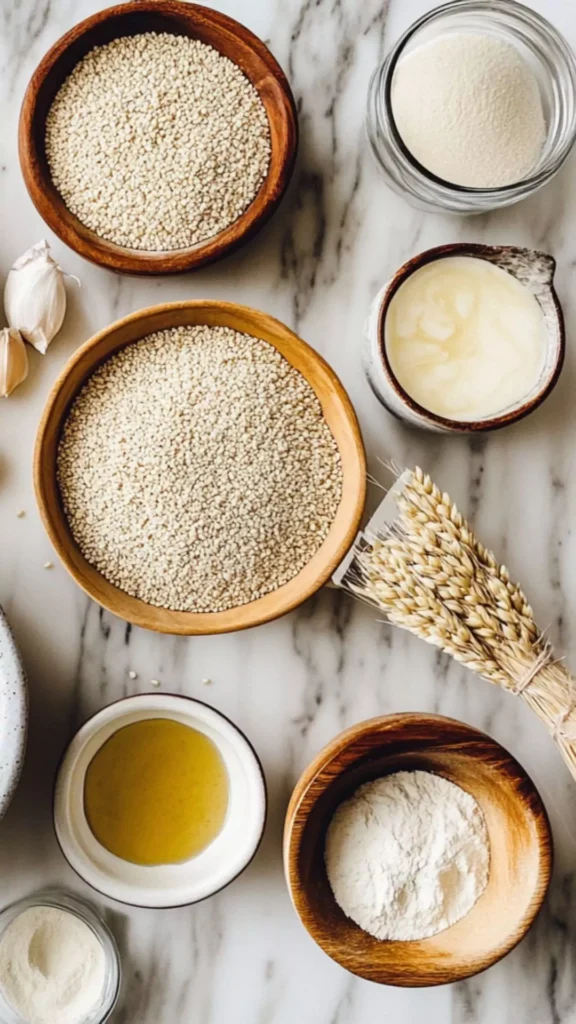
Here’s what you need to create this wonderful loaf:
- 1 ¾ cups semolina flour (durum wheat)
- ¾ cup all-purpose flour
- 1 packet active dry yeast (8 grams)
- 1 ⅓ cups lukewarm water
- 2 teaspoons raw honey
- 1 teaspoon fine sea salt
- 2 tablespoons toasted sesame seeds
- 1 tablespoon olive oil
- 1 teaspoon garlic powder

Instructions
Step 1: Preparing the Dough
In a large bowl, combine the warm water and honey. This mixture activates the yeast, which is crucial for the dough to rise. Sprinkle the yeast over the water and let it sit for about 5 to 10 minutes until it’s frothy.
Step 2: Mixing Ingredients
Once you see bubbles forming, it’s time to add the semolina flour, all-purpose flour, salt, garlic powder, and a tablespoon of olive oil into the bowl. Mix everything together until it starts forming a dough.
Step 3: Kneading the Dough
On a lightly floured surface, turn out the dough. Knead it for about 10 minutes. You want it to become elastic and smooth. Kneading is vital as it creates the gluten structure that gives your bread its wonderful texture.
Step 4: First Rise
Place the dough in a lightly oiled bowl, covering it with a damp cloth. Let it rise in a warm spot until it doubles in size, approximately 1 to 2 hours. This step is critical for achieving that light, airy texture.
Step 5: Shaping the Loaf
Once risen, gently punch down the dough to release any air. Shape it into a loaf or divide it into smaller portions for rolls. Make sure to place them seam side down on a lined baking sheet.
Step 6: Second Rise
Cover the shaped bread again and let it rise until doubled, usually another 30 to 60 minutes. This is your final rise and contributes to the bread’s fluffiness.
Step 7: Baking
Preheat your oven to 375°F (190°C). Before baking, sprinkle the top with the toasted sesame seeds for that nice touch. Bake for about 25-30 minutes, or until you hear a hollow sound when tapping on the bottom.
Step 8: Cooling
Once out of the oven, let the bread cool for at least 15 minutes before slicing. This allows the steam to dissipate, ensuring a perfect texture.
Notes
Here are some handy tips to ensure your bread turns out perfectly:
- Use Lukewarm Water: Too hot or too cold water can kill the yeast or hinder its activation.
- Knead Well: Proper kneading is necessary for developing gluten, which gives the bread structure.
- Don’t Rush the Rising: Allow your dough time to rise. Rushing this step can leave your bread dense.
- Monitor Baking Time: Ovens can vary. Keep an eye on your bread in the last few minutes of baking.
- Experiment with Seeds: Consider swapping sesame seeds with poppy seeds or sunflower seeds for variety.

How Do You Store This Panera Sesame Semolina Bread?
To keep your bread fresh:
- Room Temperature: Store in a bread box or paper bag for up to three days.
- Freezing: Wrap tightly in plastic wrap, then foil, to freeze for up to three months. Thaw at room temperature before slicing.
Sides for Panera Sesame Semolina Bread
Pairing sides can elevate your bread experience:
1. Classic Tomato Soup
The acidity of a vibrant tomato soup balances beautifully with the nuttiness of the sesame bread. As you dip your bread into the soup, the flavors meld together, creating a comforting bowl that’ll have you coming back for another dip.
2. Fresh Garden Salad
A crisp garden salad loaded with fresh vegetables contrasts well with the bread’s warm, hearty texture. Drizzle with olive oil and balsamic vinegar for a refreshing kick, making this combination perfect for a light lunch or dinner.
3. Olive Tapenade
Spread some olive tapenade on your slice for a Mediterranean touch. The rich, salty olives complement the nutty flavor of the bread, turning an ordinary snack into something extraordinary.
What Alternatives Can You Use for the Ingredients?
Sometimes, you might find yourself missing a few ingredients. Here are some alternatives:
1. Semolina Flour
If semolina isn’t available, use a mix of bread flour and whole wheat flour for a similar texture and taste.
2. Active Dry Yeast
You can replace active dry yeast with instant yeast. Use the same amount and skip the activation step.
3. Raw Honey
Maple syrup or agave can substitute raw honey, though with a slightly different sweetness profile.
4. Olive Oil
If you don’t have olive oil, vegetable oil or melted coconut oil can work well without altering the bread’s structure significantly.

Equipment
- large bowl
Ingredients
- 1 ¾ cups semolina flour durum wheat
- ¾ cup all-purpose flour
- 1 packet active dry yeast 8 grams
- 1 ⅓ cups lukewarm water
- 2 teaspoons raw honey
- 1 teaspoon fine sea salt
- 2 tablespoons toasted sesame seeds
- 1 tablespoon olive oil
- 1 teaspoon garlic powder
Instructions
Step 1: Preparing the Dough
- In a large bowl, combine the warm water and honey. This mixture activates the yeast, which is crucial for the dough to rise. Sprinkle the yeast over the water and let it sit for about 5 to 10 minutes until it’s frothy.
Step 2: Mixing Ingredients
- Once you see bubbles forming, it’s time to add the semolina flour, all-purpose flour, salt, garlic powder, and a tablespoon of olive oil into the bowl. Mix everything together until it starts forming a dough.
Step 3: Kneading the Dough
- On a lightly floured surface, turn out the dough. Knead it for about 10 minutes. You want it to become elastic and smooth. Kneading is vital as it creates the gluten structure that gives your bread its wonderful texture.
Step 4: First Rise
- Place the dough in a lightly oiled bowl, covering it with a damp cloth. Let it rise in a warm spot until it doubles in size, approximately 1 to 2 hours. This step is critical for achieving that light, airy texture.
Step 5: Shaping the Loaf
- Once risen, gently punch down the dough to release any air. Shape it into a loaf or divide it into smaller portions for rolls. Make sure to place them seam side down on a lined baking sheet.
Step 6: Second Rise
- Cover the shaped bread again and let it rise until doubled, usually another 30 to 60 minutes. This is your final rise and contributes to the bread’s fluffiness.
Step 7: Baking
- Preheat your oven to 375°F (190°C). Before baking, sprinkle the top with the toasted sesame seeds for that nice touch. Bake for about 25-30 minutes, or until you hear a hollow sound when tapping on the bottom.
Step 8: Cooling
- Once out of the oven, let the bread cool for at least 15 minutes before slicing. This allows the steam to dissipate, ensuring a perfect texture.
Notes
- Use Lukewarm Water: Too hot or too cold water can kill the yeast or hinder its activation.
- Knead Well: Proper kneading is necessary for developing gluten, which gives the bread structure.
- Don’t Rush the Rising: Allow your dough time to rise. Rushing this step can leave your bread dense.
- Monitor Baking Time: Ovens can vary. Keep an eye on your bread in the last few minutes of baking.
- Experiment with Seeds: Consider swapping sesame seeds with poppy seeds or sunflower seeds for variety.
Nutrition
Frequently Asked Questions
1. Can I make this bread without kneading?
Yes, you can use the “no-knead” method, allowing longer fermentation to develop gluten naturally. Just follow the same steps but let the dough rise for a few hours before baking.
2. What should I do if my bread is too dense?
If your bread turns out dense, it may have been under-kneaded or not risen long enough. Ensure complete mixing and give it ample time to rise.
3. Can I add herbs to this recipe?
Absolutely! Fresh or dried herbs like rosemary, thyme, or basil can enhance the flavor. Just add them during the mixing step.
4. Is it possible to make this bread gluten-free?
Certainly! Use a gluten-free flour blend specifically formulated for bread. Just keep in mind the texture may differ slightly.
Conclusion
Baking Panera sesame semolina bread is a rewarding endeavor that can fill your home with delightful aromas and satisfy your cravings for something truly special. From its nutty flavor to its soft texture, this bread is sure to impress.
With simple ingredients and straightforward steps, anyone can master the art of bread-making. Plus, it fits into a variety of meals, making it a versatile staple in your kitchen.
So grab your aprons, gather your ingredients, and get ready to bake a loaf that will steal the spotlight at your dining table!
